How To! Install Thin Veneer

Preparing the Mortar:
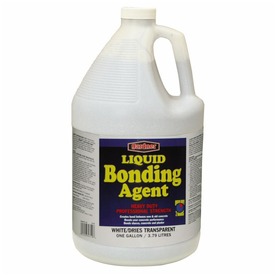
When installing thin veneer, a bonding agent is required in the setting mortar.
Mortar should be mixed to a workable consistency.
Type S mortar
1 cup bonding agent per bag of mortar
Water
-OR-
Water


Preparing the Surface:
Over sheetrock, wallboard, paneling, plywood, other rigid wood-related sheathing or rigid insulation board. Cover the wall surface with a weather-resistive barrier. The barrier shall be equal to that provided for in the U.B.C. Standard No. 14-1 for Kraft waterproof building paper of asphalt-saturated rag felt. The building paper or felt shall be applied horizontally with the upper layer lapped over the lower layer not less than 2 inches. Where vertical joints occur, the felt or paper shall be lapped not less than 6 inches. Then install 2.5 lb. (or heavier) diamond mesh expanded metal lath. Use galvanized lath for exterior applications. Black metal lath (non-galvanized) may be used for interior applications. Overlap lath sides by not less than ½” and lath ends by not less than 1 inch. Attach the lath using galvanized nails or staples 6″ on center vertically and 16″ on center horizontally, penetrating studs a minimum of 1″. Be sure to attach the metal lath with the small cups pointing upwards. Double wrap metal lath a minimum of 16″ around all inside and outside corners. Then apply a ½” thick scratch coat of mortar over the metal lath and allow it to set. Mortar can either be type N or S.
Over clean unpainted, unsealed, untreated brick, block, concrete or other masonry surfaces: No surface prep is necessary.
Over painted, sealed or treated brick, block, concrete or other masonry surfaces: The surface must either a) be cleaned back to the original surface by sandblasting, water blasting, acid etching or wire brushing, or b) have metal lath attached using corrosion-resistant concrete nails with a scratch coat applied over the metal lath.
Applying the Stone:
Applying the stone to the back of thin veneer
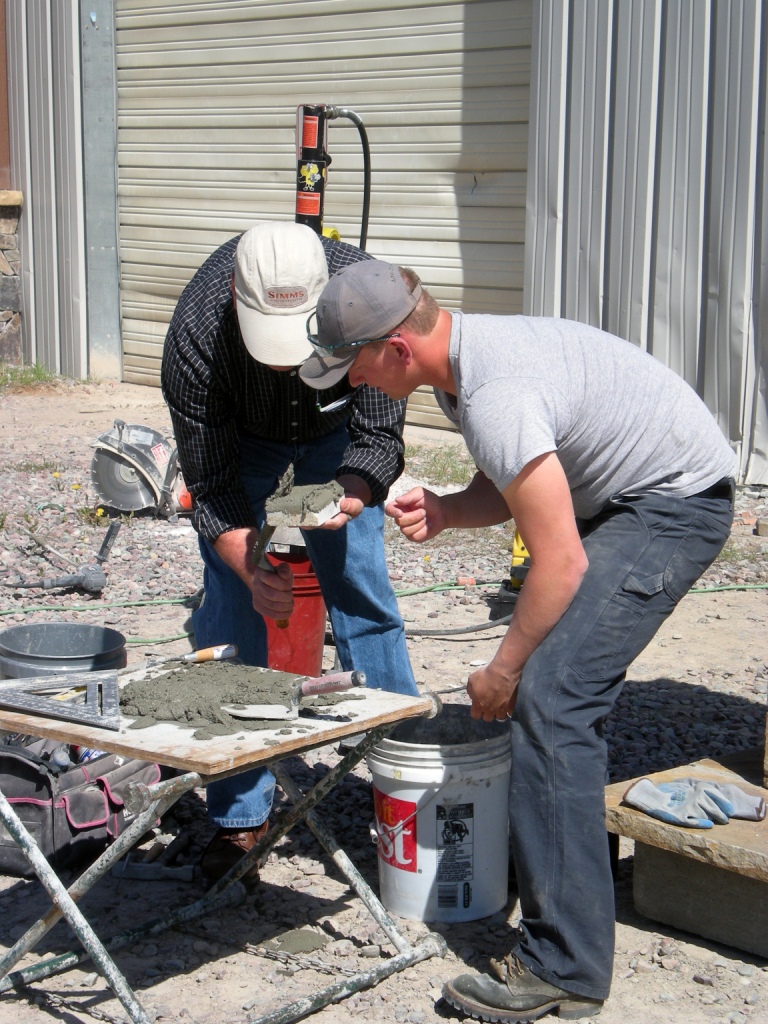
Setting the stone: Using a mason’s trowel, apply approximately ½” thick even layer of mortar to the entire back of the stone. Then press the stone firmly into place on the prepared wall surface, squeezing the mortar out around all edges. Using a gentle wiggling action or tapping of stone will ensure a good bond. For jointless/dry-stacked installations, it’s important when setting the stone that the edges of the stone are properly sealed with mortar to ensure satisfactory bond. If the stone is being installed onto a very dry surface or in a hot/dry climate, the wall surface should be wet to prevent excessive absorption of moisture from the mortar. This can be done by spraying or brushing water onto the wall surface. The wall surface should be allowed to dry for a few minutes after wetting to eliminate excess surface water.
Grouting the joints: After the stone has been applied to the wall surface, use a grout bag to fill the joints with mortar, forcing grout into any voids. Any mortar that accidentally gets on the stone should be allowed to set until dry and crumbly, and then brushed off with a dry whisk broom.
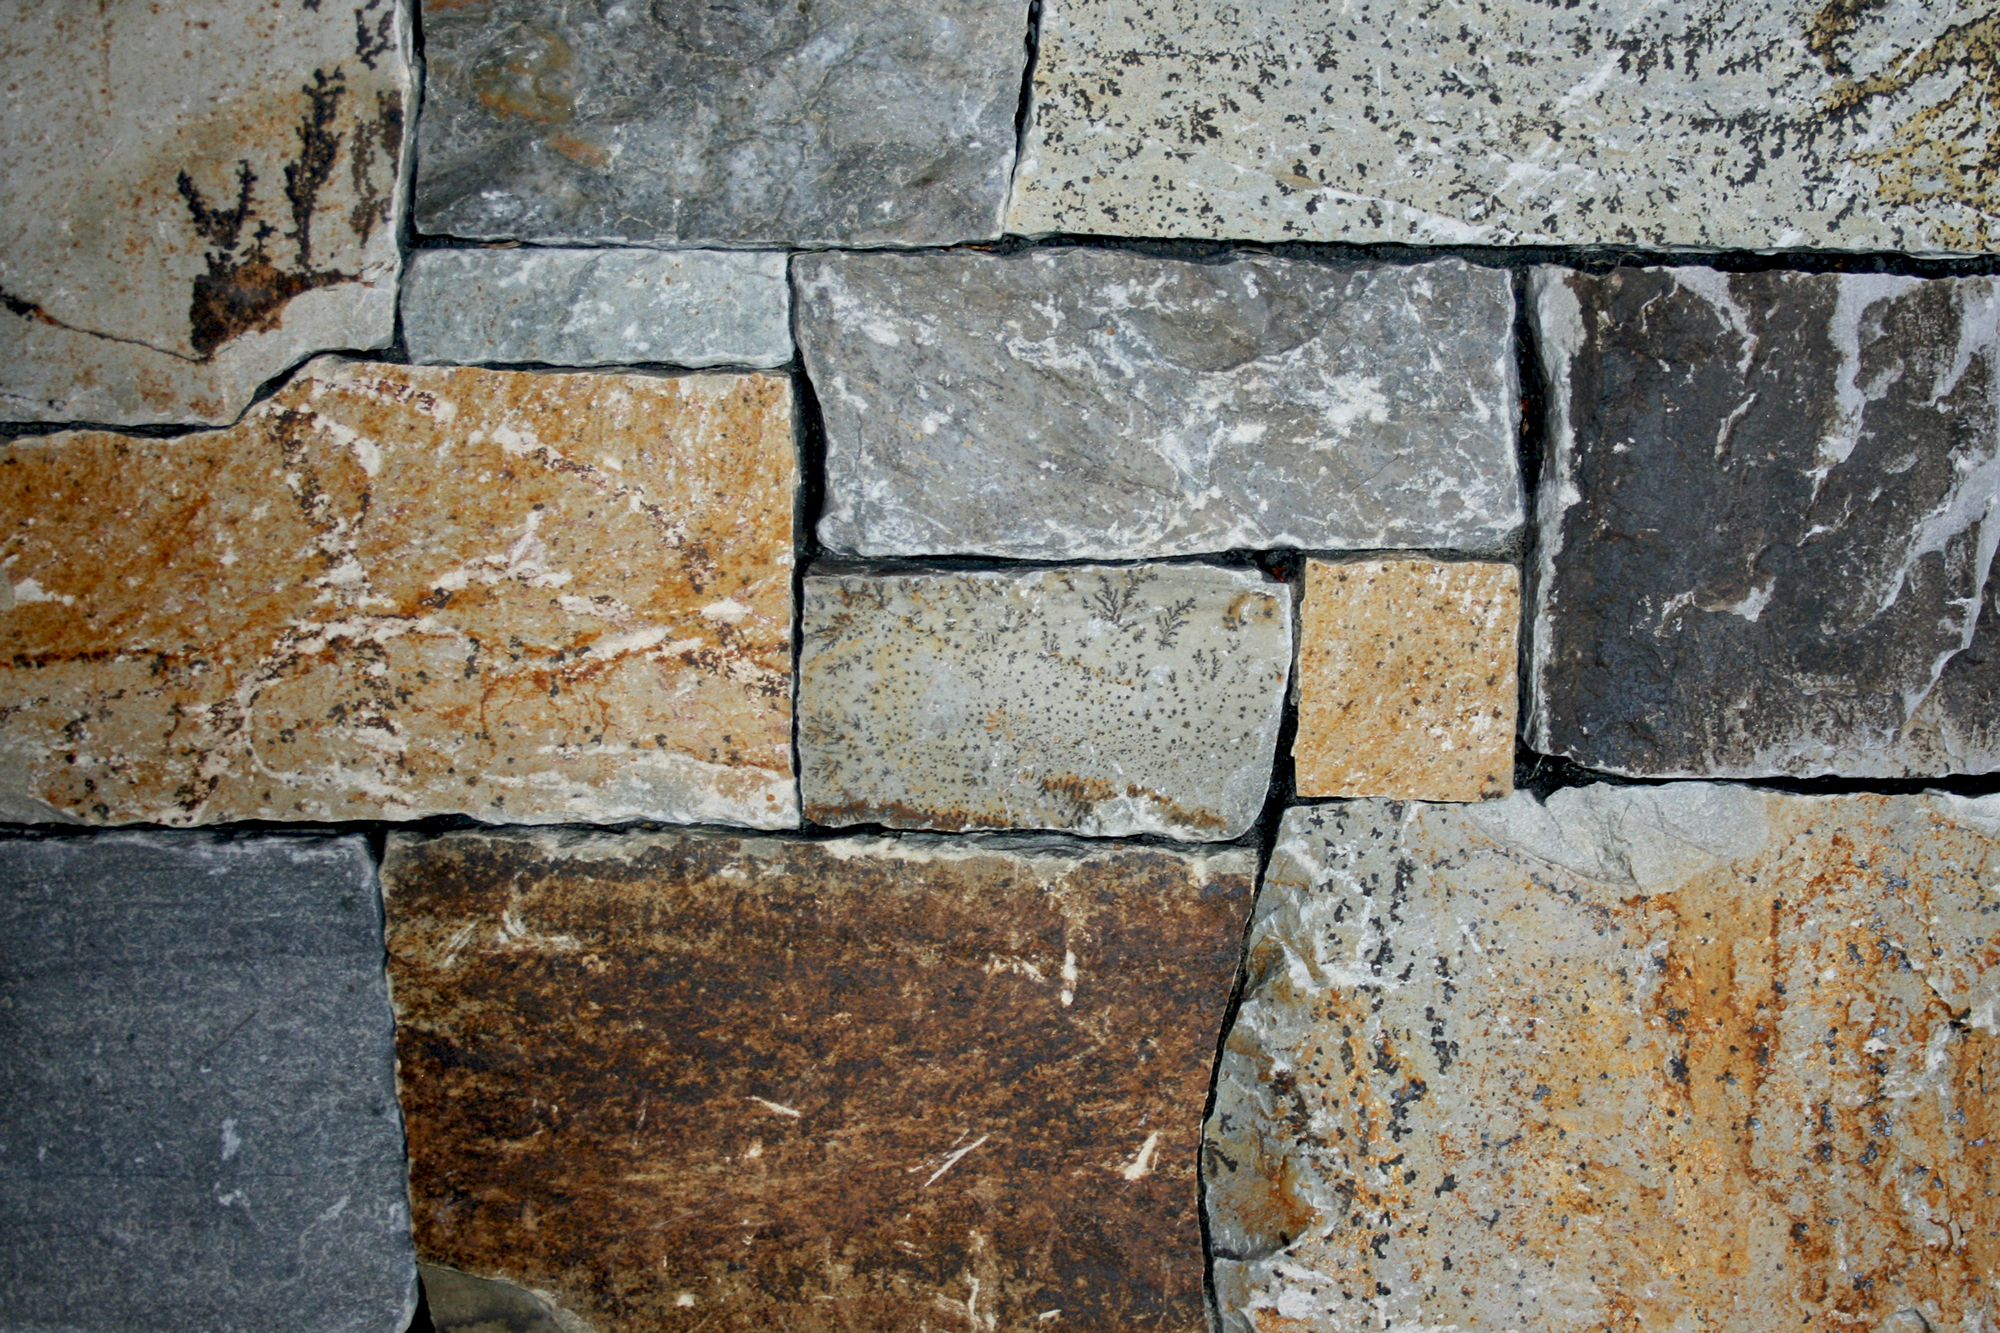
McGregor Lake Ledge TV with drystack application
“Dry stack look”: We recommend grouting to fill noticeable voids and to conceal cut or broken stone edges. Approximately ½ amount of grout as for “jointed look”. The “dry stack” appearance will result from deep striking of the joints.
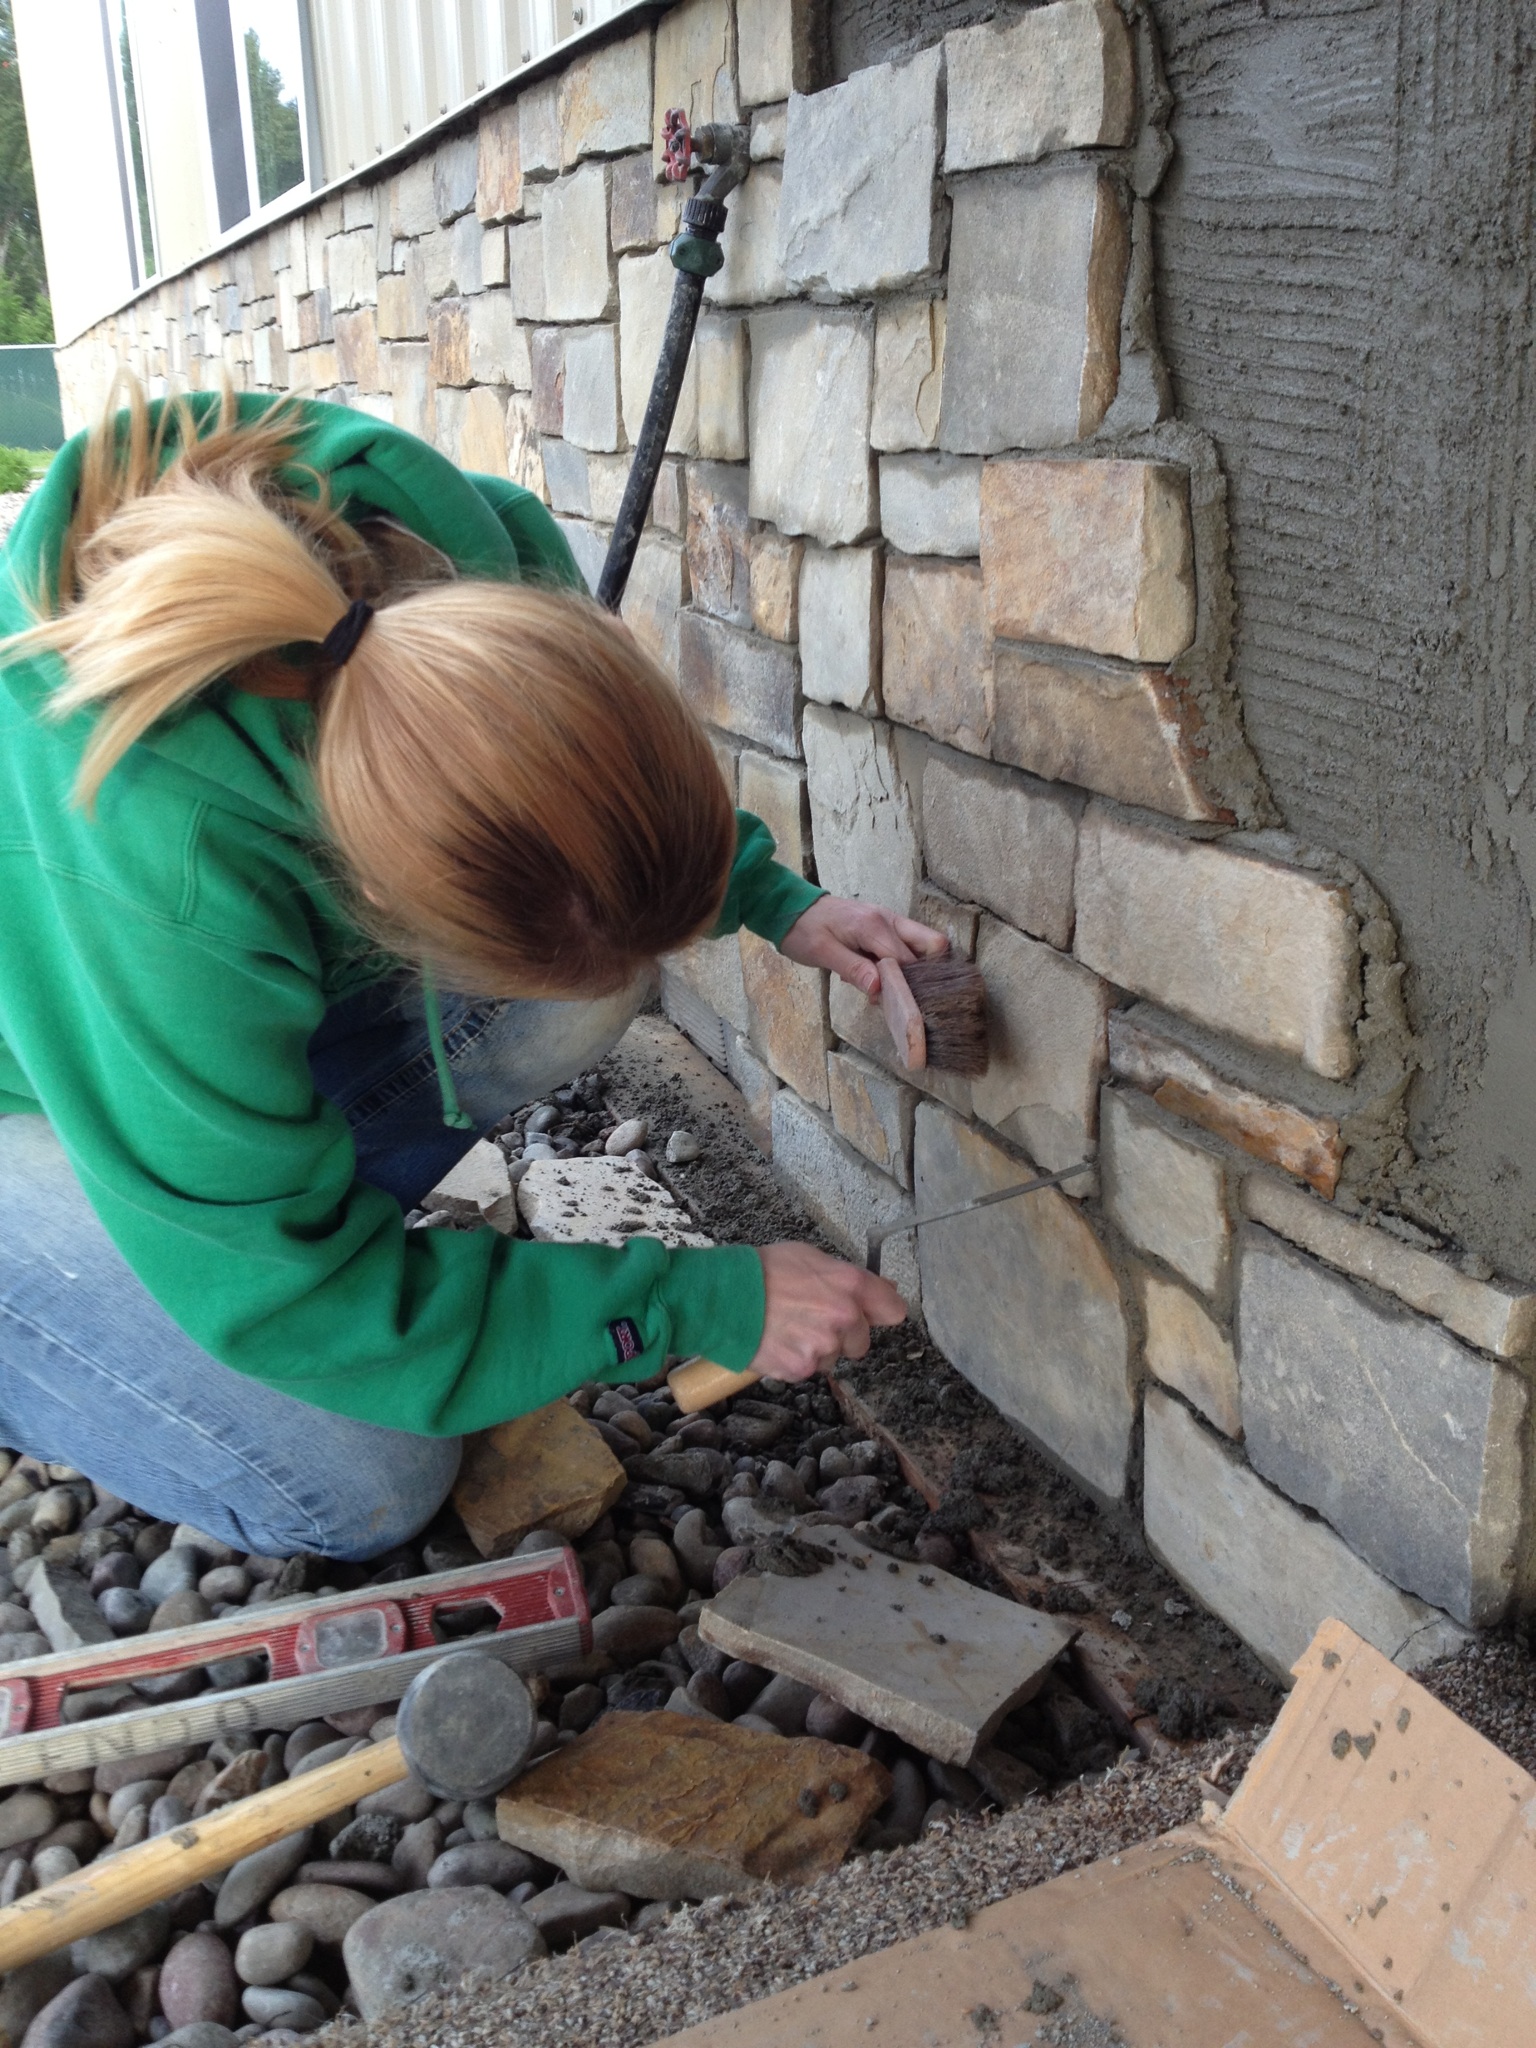
Using tuck pointer and brush to finish the joints
Finishing the joints: When the mortar joints become firm (normally 30-60 minutes), use a wooden or metal striking tool to rake out the excess mortar to the desired depth while at the same time forcing the mortar into the joints so as to thoroughly seal the stone edges. Be careful not to work the joints too soon or the mortar will smear.After working the joints, use a whisk broom to smooth the joints and clean away any loose mortar from the joints and stone face. Loose mortar and mortar spots which have set for only a few hours clean up easily and should never be allowed to set up overnight.
NOTES:
- It is important to divert water run-off away from stone surfaces by using can’t trip, gutters and flashing. Water run-off combined with severe freeze-thaw conditions can result in damage. Stone should not be used below water level.
- Do not install in temperatures below 40° Fahrenheit. Provide supplemental heat if necessary to ensure a minimum of 40° Fahrenheit temperature between installation and mortar drying for approximately 24 hours.
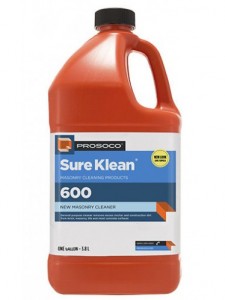
- DO NOT USE STRAIGHT MURADIC ACID to clean stone. Recommended cleaners are either white vinegar or a stone detergent mixed according to manufacturer’s instuctions, such as SureKleen’s 600 detergent. Rinse well